


Outdoor wall lights are an easy way to add ambiance and security to your backyard and also patio area. Therefore, installing outdoor wall lights is a great way to add security and illumination to your home. With a few simple tools and some easy-to-follow instructions, you can have your new lights up and running in no time.
In this blog post, we will walk you through everything you need to know about installing outdoor wall lights. We will cover the different types of lights available, how to choose the right location for your new fixtures, and some tips and tricks for getting the most out of your purchase. So whether you are looking to add a little extra light to your yard or want to deter potential burglars, read on for everything you need to know about installing outdoor wall lights.
Before You Begin
Before you install outdoor wall lights, it is vital to recognize the element listed below.
Power Types
Hardwired components need more setup and also circuitry. We advise dealing with an electrician if you will be running power lines through your house's wall surfaces, or installing wall lights where there was not any type of before.
What you'll require- Ladder or step-stool
- Screwdriver or electrical screwdriver
- Utility or putty knife
- Electrical tape
- Electrical tape
- Caulk gun
- Pliers
- Wire nuts
- Level
- Safety glasses
- Multimeter or voltage detector tool
- Mounting block (optional)
- Electrical wire (optional)
Require Products
- Outdoor wall light fixture
- Light bulb
- Clear, silicone-based outdoor caulk
9 Steps to installing an Outdoor wall lights.
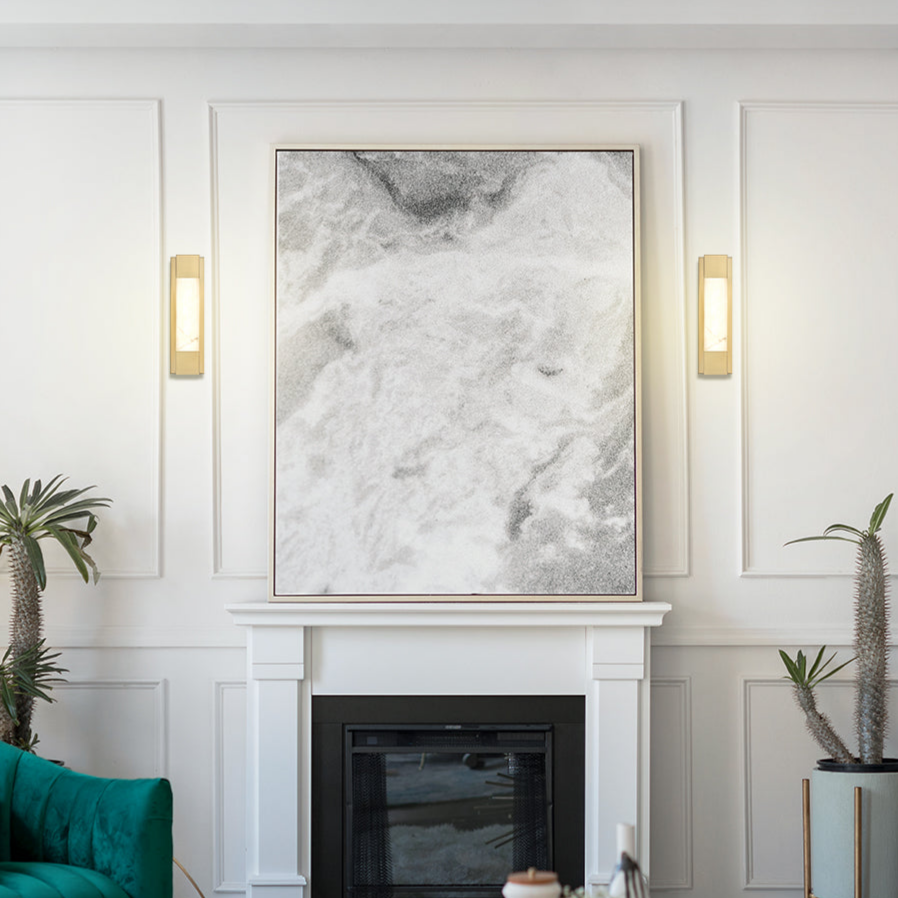
You can get to the best outdoor wall light for you home here, from industrial wall lights to modern wall lights. Whether you intend to install outdoor wall lights in a brand-new place or just wish to change an old fixture, here are the 9 steps to obtain it done.
1. Turn off the Power
Whether you're installing outdoor lights for the very first time or replacing an existing component, you always begin by turning off the power to the primary circuit breaker. Make use of a voltage or a multi-meter detector device to ascertain that there is no power prior to you start. This step only takes a few minutes as well as is a possibly life-saving measure, so do not miss it.
2. Prep the Junction Box
Skip to step 5 if you're changing an existing lighting fixture.
If you're setting up a brand-new lighting fixture, identify which junction box you will utilize for the light button. More than likely, you will make use of the one closest to the door for convenience. Get rid of the cover to reach the electrical wiring.
3. Install the Mounting Block.
- Decide where you desire the light outdoors, and set up the mounting block.
- Pierce a hole via the exterior siding and wall surface, as well as feed the electrical wire till it reaches the junction box for the light switch.
4. Complete the Junction Box.
- Connect the new electrical cable with the existing electric wiring.
- Connect the ground cable to the green screw.
- Take the black cords and also twist them with each other.
- Install a wire nut. Do the exact same for the white cords.
- Reinstall the faceplate on the junction box.
Now, you are ready to mount the lighting fixture exterior.
5. Remove the Lighting Fixture.
If you are setting up a new outdoor wall light, skip to tip 6.
If you're replacing an old wall light, beginning by eliminating the lightbulb, and after that get rid of the installing screws. There are normally 2 of them on either side of the fixture. You might be able to loosen up the screws by hand, or utilize pliers if required.
Next, if there is a caulk along the sides of the fixture, put on safety and security goggles and reduce the caulk away with a utility or putty knife. As soon as that is done, you can tug at the fixture till it pops out, and afterwards comply with these action.
- Get rid of the ground cable by loosening up the environment-friendly screw.
- Unscrew the wire nuts on the ground cables, black cables, and also white cords. You can conserve the cable nuts to reuse later on.
- Unscrew the old brace as well as eliminate it.

6. Install the New Bracket
Whether you are going back to square one or changing an existing fixture, your brand-new light fixture will certainly include a brand-new bracket. Utilize a degree to make sure it's wonderful and also straight, and ensure that the screw openings are located correctly for the fixture. Tighten up the mounting posts and the brace extremely well.
7. Connect the Grounding Wires
- Move the grounding cord behind the environment-friendly nut as well as tighten it.
- Cover the bare copper ground cord from the light fixture to the ground cord from the junction box.
- Screw on a wing nut, as well as wrap it in black electrical tape. The tape will certainly make certain that wetness won't leakage inside.
8. Affix the Black and also White Cables
- Next off, take the black cords and turn them with each other.
- Attach a cord nut and wrap it in electrical tape.
- Repeat the exact same process with the white cables.
- When youare done, press the wires back right into the junction box.
9. Attach the New Light
- Take the new lighting fixture as well as location it onto the brace.
- Mount the screw caps and tighten them with pliers.
- Usage clear, silicone exterior caulk as well as caulk the top as well as sides of the fixture. You can leave the lower undone to ensure that any kind of dampness has a method to drain.
- Screw in a brand-new lightbulb before setting up any kind of covers as well as additional pieces of the illumination fixture.