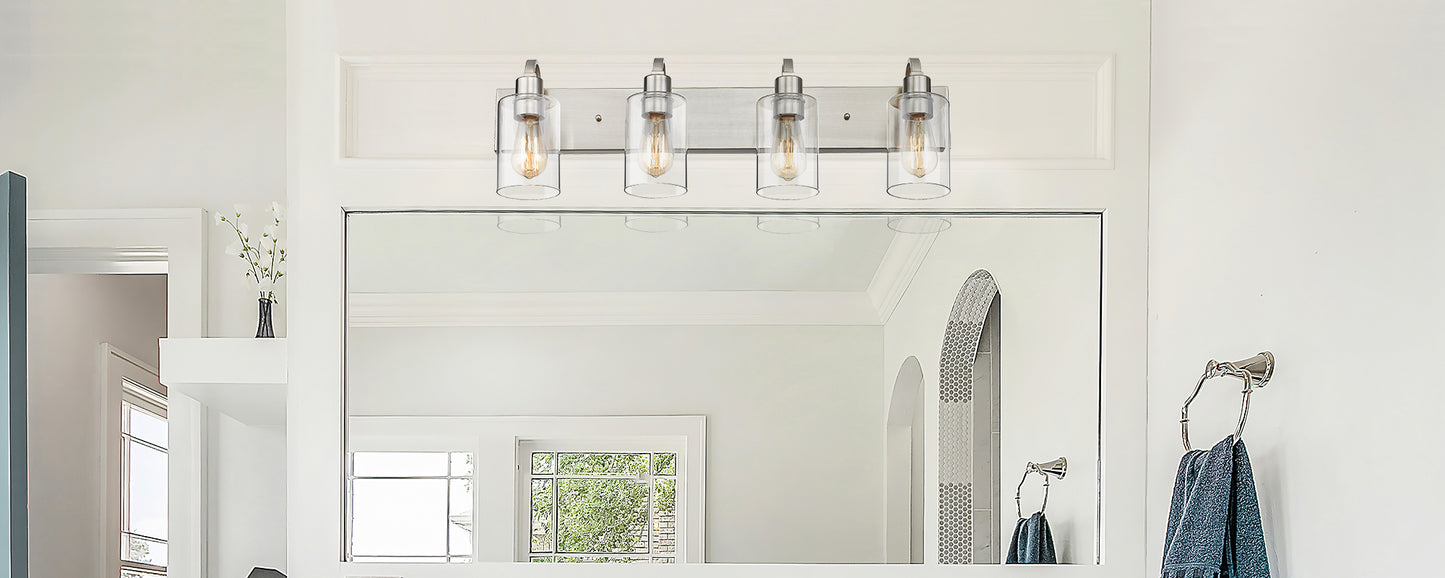
Installing vanity lights in your bathroom can be a relatively simple DIY project, but it's important to follow proper safety precautions and guidelines to ensure a successful and secure installation. In this article, we'll go through the step-by-step process of installing vanity lights, including what tools and materials you'll need, safety considerations, and troubleshooting tips.

Materials Needed
- Vanity light fixtures
- Mounting hardware (included with fixture)
- Electrical box
- Wires (matching the one that you have in your bathroom)
- Wire nuts
- Screwdriver or drill
- Voltage tester or circuit tester
- Level
Step-by-Step Installation Guide
- Step 1: Turn off the power.The first and most important step in any electrical project is to turn off the power to the area where you'll be working. Locate the main circuit breaker and turn off the power to the bathroom. Use a voltage tester to confirm that there is no power before proceeding with the installation.
- Step 2: Remove the old light fixture.Remove the old light fixture and disconnect any wires. Take note of how the wires were connected, as you will need to reconnect them in the same way with the new fixture.
- Step 3: Install the electrical box. An electrical box is what will hold the vanity light in place. One must be installed If your bathroom does not have an electrical box.Measure and mark the location where you want the light to be mounted, then use a stud finder to locate the studs in the wall. If a box is not already there, install it using the hardware with it, making sure it is level.
- Step 4: Install the vanity light. Attach the vanity light's mounting plate to the electrical box using the hardware provided. Make sure the plate is level and securely fastened. Then, connect the wires of the light fixture to the wires in the electrical box using wire nuts.
- Step 5: Test the lights Once the wires are connected, turn the power back on and test the lights to make sure they are working properly. If the lights do not turn on, check the connections and ensure they are tight.
- Step 6: Install the shade or cover. Once you have confirmed that the lights are working properly, you can install the shade or cover for the light fixture. Make sure the shade or cover is securely attached and that the light bulbs are properly inserted.
Safety Considerations
- Always turn off the power before working on any electrical project
- Always use the proper tools and materials
- Always double-check your connections before turning the power back on
- Consult the manufacturer's instructions for specific installation instructions
- Hire a licensed electrician if you are not familiar or comfortable with electrical wiring
Tips for a successful installation
- Make sure to measure the area where you want the lights to be installed, so you can choose the right size and style of the fixture.
- Choose a fixture that is UL-listed, meaning that it has been tested and certified by Underwriters Laboratories, to ensure that it meets safety standards.
- Plan ahead and gather all necessary tools and materials before starting the installation.
- Take your time and double-check your work throughout the installation process.

Conclusion
Installing vanity lights can be a simple DIY project, but it's important to follow proper safety precautions and guidelines to ensure a successful and secure installation. By following the step-by-step instructions and safety considerations outlined in this article, you'll be able to install your new vanity lights with confidence and have a bathroom that is well-lit and looks great. Always consider hiring a licensed electrician if you are not familiar.


