
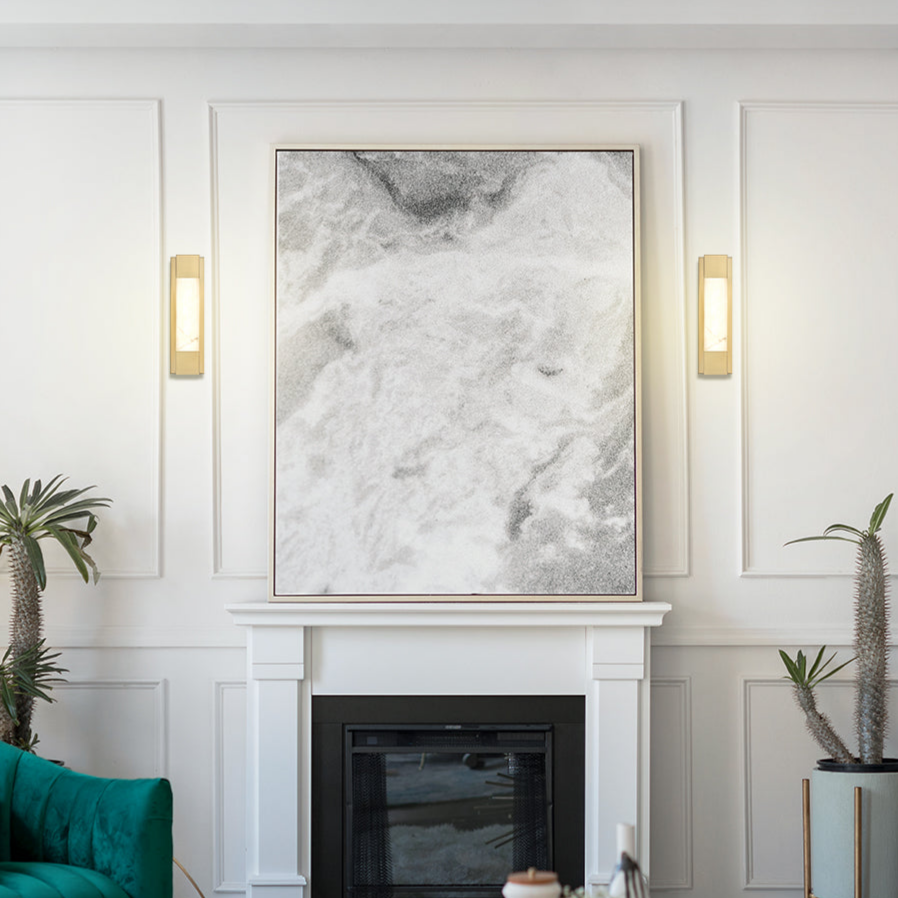

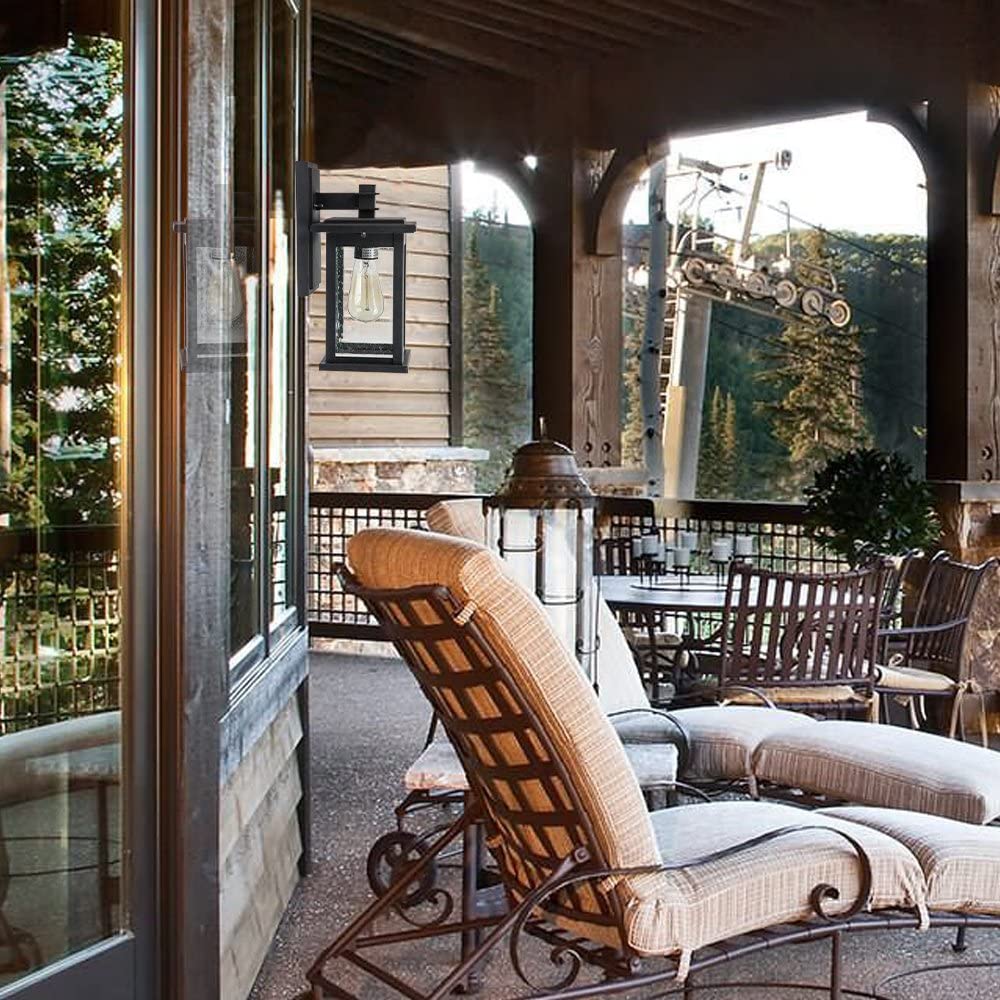

Use outdoor lights to add elegance to your home's outdoor lighting. You can choose outdoor wall lights to decorate your outdoors, such as the front porch, patio, gazebo, foyer, garage, hallway, and entryway.
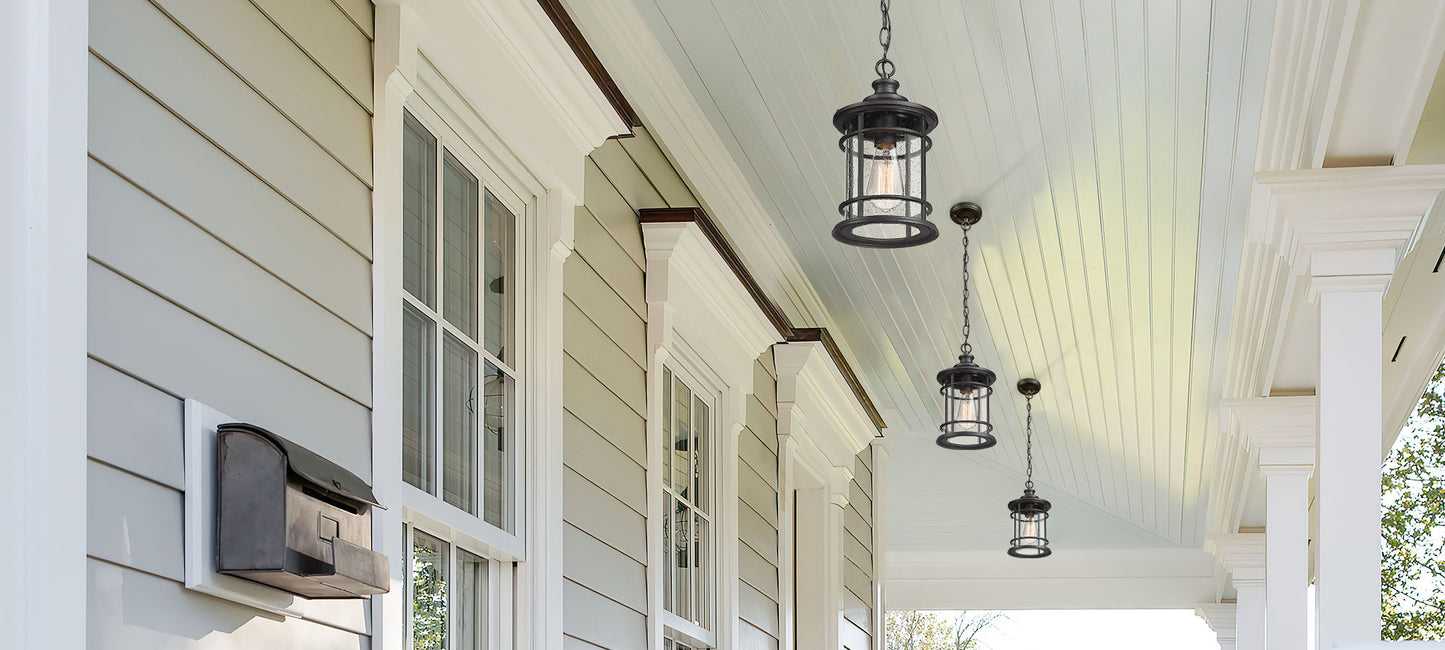
However, if the place where you want to install the outdoor lights can't be wall-mounted, choosing to hang outdoor lights is also a good choice. Add charm to your home's exterior lighting by hanging the outdoor pendant lights.

Here are the steps for installing an outdoor pendant light:
Step 1: Prep Work for Installation of outdoor pendant lights
First, you need to choose a pendant outdoor light that is secure and suitable to use outdoors. There are several styles to suit any theme and budget.
Before beginning this project, turn off the power on the main switch. To verify that power is switched off, additionally, use a voltmeter. Remove it if a light on the ceiling or the surface where the pendant exterior light is set up is replaced.
Step 2: Installation of the mounting strap
The mountain strap can be optionally installed. If there is no center stud on the outlet plate, you need to install this item of mounting hardware. Furthermore, Make sure that the mounting strap is protected securely.
Step 3: Installation of the light fixture
An outdoor pendant light usually hangs with its electrical cable, which makes the furnace simple, mainly specified by shade and size. The light style depends on the shadow that suits any application, room, or design. A flared form or transparent shade brings much more light into the area and can be fastened into an intense color.
So, remove the fixture from the box before cabling the outdoor pendant light install and install all its parts based upon the most current guidance you obtain from the manufacturer.
Step 4: Inspection of Junction Box
Locate and switch the power on your electric panel and check that there is no energy flowing. A previously affixed light should be removed to secure against cabling damages. Two wires for power, and the third for electric ground, should be visible.
Remove any mounting bracket that has been utilized before. See the junction box and ensure that there is possible assistance with the total weight of the pendant outside light you will certainly install. You can use a plastic container if the lighting fixtures you are linking are pretty light.
Additionally, you need to utilize a metal box if you're mounting hefty light fixtures so you do not get off the hanging fixture.
Step 5: Wiring the Outdoor pendant light
Check the cables on the light support. Examine the top or part of the mounting on the electrical outlet box of the ceiling. Speak with the manufacturer's cabling scheme and carefully adhere to the cabling instructions. In general, splitting the black wire into the black wire on the electrical outlet box belongs to this procedure.
For attaching the two cables, you need to utilize circuitry nuts. And split the white electrical wiring, like the black cables were broken. From the electrical outlet box, attach the bare wire or the green cord to the environment-friendly line which gets on the lighting.
Ultimately, connect the eco-friendly cable to the planet screw or armband. Ensure that the wiring nuts on all cord connections are safely connected, making sure the wires in the power box are.
Step 6: Affix Cover
When the cables have been finished, cover the connecting case with the cover with bracket posts and also screw caps. Tighten to ensure no wires are squeezed or exposed until the cover relaxes against the ceiling.
Step 7: Add Shade
Flush the nut on the shade's mount over the bulb socket, slide the darkness throughout the strings, and change the nut for security. When lit, make sure to hang it up during light color.
Minimize the size of the cord through which the outdoor light is hung by hand if required, but anticipate the cable to work out further under the irreversible weight of the mount in time.
Step 8: Select a Bulb
Please see the manufacturer's instructions if you pick a bulb for your fixture. The style and performance of your ceiling connection can significantly influence the voltage, form, and "light" appearance.
Ensure the light is dim and look for more fabulous shades in living rooms when using a Dimmer Switch, although the best choice for huge areas is typically not a single outdoor pendant light.
Step 9: Installation of Light Fixture
Slide the light mount on the cable hanging over the ceiling and screw the light mount on the roofing system by pushing the scroll cover. Before activating the power supply, guarantee that the light is securely placed in the ceiling. When power is switched on, check the exterior necklace lights.
Step 10: Hanging elevation change
After completing all procedures, you must fix the elevation to install the collection screw. It will be loosened, pulling the cord across the required length before trying to hang your new light.

The excess cable should be left a bit long, and the excess can be secretly mounted behind the light cover or installation. The elevation it takes up is trouble or disposition, but when deciding on cord length, it thinks about the light height and feasible head bumping.