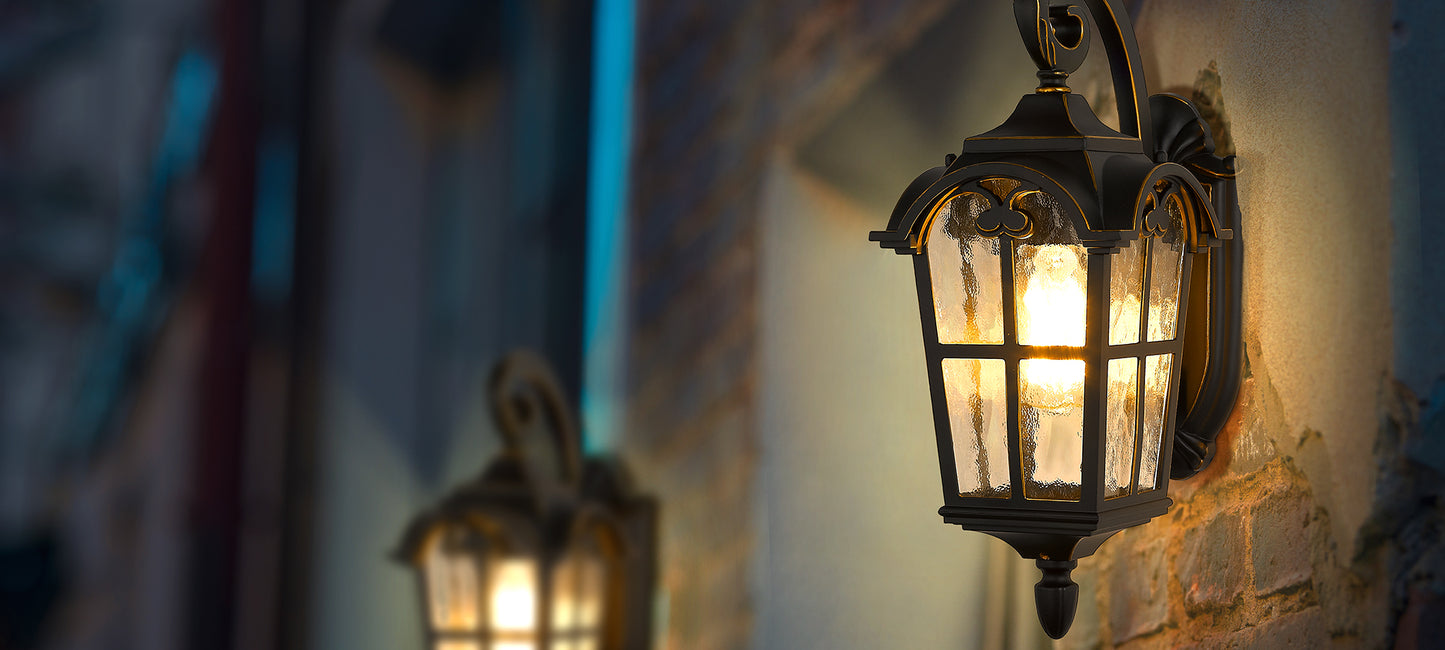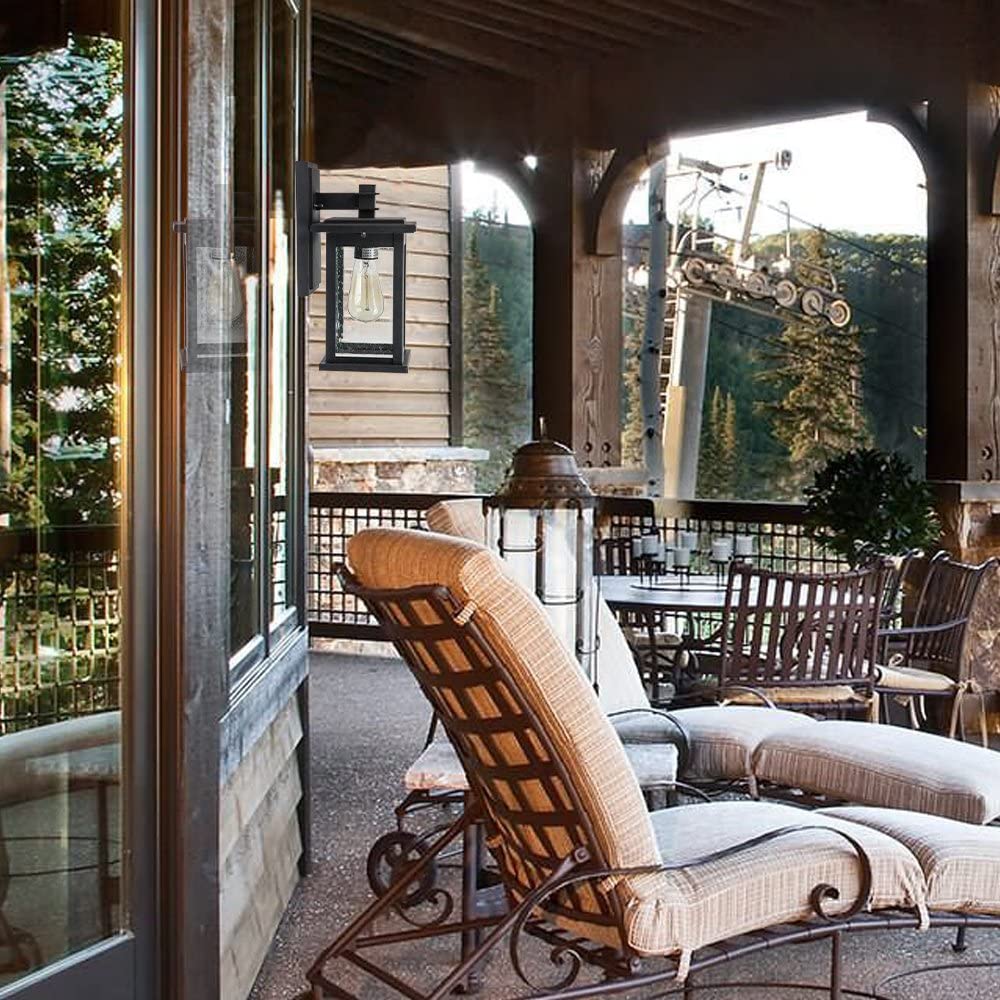
Outdoor wall lights serve an important function in illuminating the exterior of your home, adding security and enhancing the overall appearance of your property. However, like all electrical fixtures, outdoor wall lights can sometimes malfunction or stop working entirely. In this article, we will discuss how to repair or replace outdoor wall lights, including the tools and materials you will need and the steps to follow.

Tools and Materials
To repair or replace outdoor wall lights, you will need the following tools and materials:
- A voltage tester
- A screwdriver (flathead or Phillips, depending on the type of screws on your light fixture)
- A pair of wire strippers
- Electrical tape
- New light bulbs (if necessary)
- A replacement outdoor wall light (if necessary)
Identify the problem
The first step in fixing outdoor wall lights is to identify the problem. Some common issues with outdoor wall lights include:
- The light doesn't turn on or off: This could be due to a faulty switch, a loose wire, or a blown bulb.
- The light flickers or dims: This could be due to a loose wire or a faulty bulb.
- The light is too bright or too dim: This could be due to a faulty bulb or a loose wire.
Once you have identified the problem, you can move on to the next step.
Troubleshoot and fix the problem
Once you have identified the problem with your outdoor wall light, the next step is to troubleshoot and fix it. Here are some common solutions to common problems with outdoor wall lights:
- If the light doesn't turn on or off.
- Check the switch to make sure it's working properly. If the switch is faulty, replace it.
- Check the wiring to make sure it's secure. If the wiring is loose, tighten it.
- Check the bulb to make sure it's not blown. If the bulb is blown, replace it.
- If the light flickers or dims:
- Check the wiring to make sure it's secure. If the wiring is loose, tighten it.
- Check the bulb to make sure it's not faulty. If the bulb is faulty, replace it.
- If the light is too bright or too dim:
- Check the bulb to make sure it's the correct wattage. If the bulb is the wrong wattage, replace it with the correct wattage.
- Check the wiring to make sure it's secure. If the wiring is loose, tighten it.
Repair or replace the outdoor wall light
If the problem with your outdoor wall light can't be fixed, or if the light is old and worn out, you may need to repair or replace it. Here are some steps to follow when repairing or replacing an outdoor wall light:
- Turn off the power to the light: Before you start working on the light, make sure to turn off the power to it. This will prevent accidents and keep you safe.
- Disconnect the old light: Once the power is off, carefully disconnect the old light from the wiring. Be careful not to damage the wiring or the wall.
- Install the new light: Once the old light is disconnected, carefully install the new light according to the manufacturer's instructions. Be sure to connect the wires properly and secure the light to the wall.
- Turn the power back on: Once the new light is installed, turn the power back on and test the light to make sure it's working properly.

Conclusion
Fixing outdoor wall lights can be a simple and straightforward process if you know what you're doing. By following the steps outlined above, you can troubleshoot and fix common problems with outdoor wall lights, or repair or replace them if necessary. Just remember to turn off the power and follow the manufacturer's instructions when working on the light. With a little bit of care and attention, you can keep your outdoor wall lights working properly and keep your


