


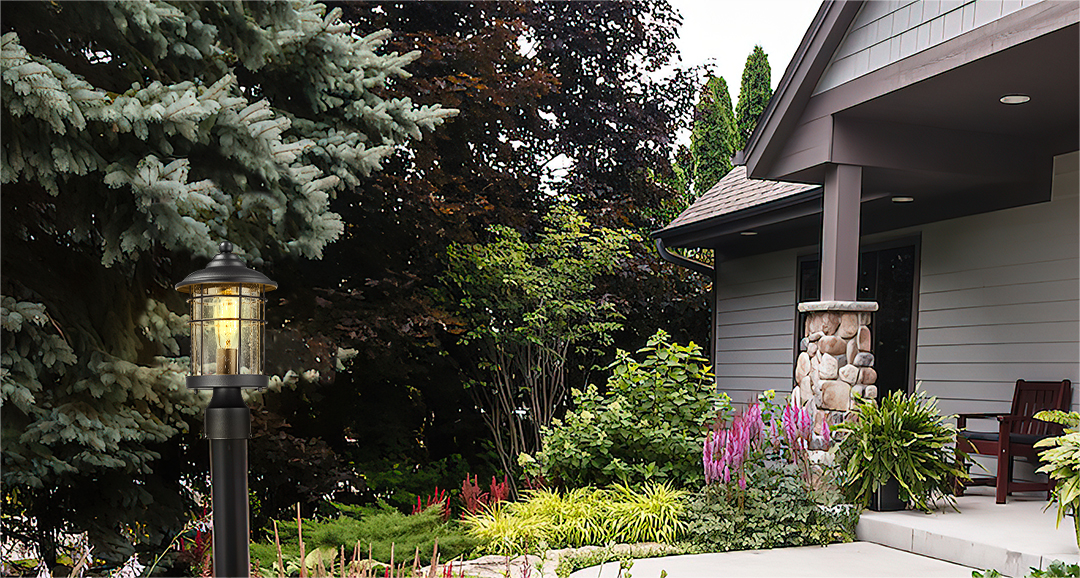
Outdoor post lights are popular for illuminating pathways,driveways, and other outdoor spaces. These lights are typically mounted on poles or posts, and provide practical illumination while adding a decorative touch to your outdoor areas. In this article, we'll take a closer look at installing an outdoor post light, including the steps you'll need to follow and the tools and materials you'll need.

Step 1: Gather What You Need
Before starting your project, gathering everything you'll need. You'll need the following tools and materials:
- A screwdriver
- A drill
- A drill bit
- Wire stripper
- Wire nuts
- Voltage tester
- Outdoor post light fixture
- Mounting hardware
- Electrical wire
- Electrical box (if needed)
Step 2: Locate a Power Outlet or Extension Cord
The first step in installing an outdoor post light is to locate a power outlet or extension cord. If you're using a power outlet, make sure it's located within reach of the post or pole where you'll be installing the light. If you're using an extension cord, make sure it's long enough to reach the desired location.
Step 3: Connect the Wires
Once your power source is in place, you can start connecting the wires. Begin by running the electrical wire from the power outlet or extension cord to where you'll be installing the outdoor post light. Strip the ends of the wire to expose the individual wires inside.
Next, attach the electrical wire to the outdoor post light. Most outdoor post lights have a set of wires coming out of the back, which is used to connect the light to the electrical box. These wires are typically color-coded, with one wire black (or red) and the other white. To attach the electrical wire to the outdoor post light, use wire nuts to secure the ends of the wires together.
Step 4: Mark the Post Light for Where to Drill the Holes
Once the wires are connected, it's time to mark the post light for where to drill the holes. To do this, hold the outdoor post light in place on the post or pole, and use a pencil to mark the spots where you'll need to drill the holes.
Step 5: Drill the Holes
With the holes marked, you can now start drilling. Use a drill and drill bit that is appropriate for the material of the post or pole. For example, you'll need a wood drill bit if you're drilling into wood. You'll need a metal drill bit if you're drilling into metal.
Step 6: Install the Outdoor Post Light
With the holes drilled, you can now mount the outdoor post light to the post or pole. This typically involves screwing the light into place using the mounting hardware that came with it. Make sure the light is securely fastened to the post, as you don't want it to come loose in high winds or other weather conditions.
Step 7: Test Your Work
Once the outdoor post light is installed, you can test your work to make sure everything is working properly. Turn the power back on, and then use a voltage tester to make sure that electricity flows to the light. If everything is working properly, you should see the light turn on when you flip the switch.

Conclusion
Installing an outdoor post light is a relatively straightforward process that can be accomplished with a few basic tools and some basic electrical knowledge. By following the steps outlined above, you can easily install an outdoor post light and enjoy the benefits of improved safety, increased security, and a decorative touch to your outdoor spaces.